Labeling
Continuing from the previous article on model training, today we will focus on labeling images. For this task, we will use a package called labelImg as our image labeling tool.
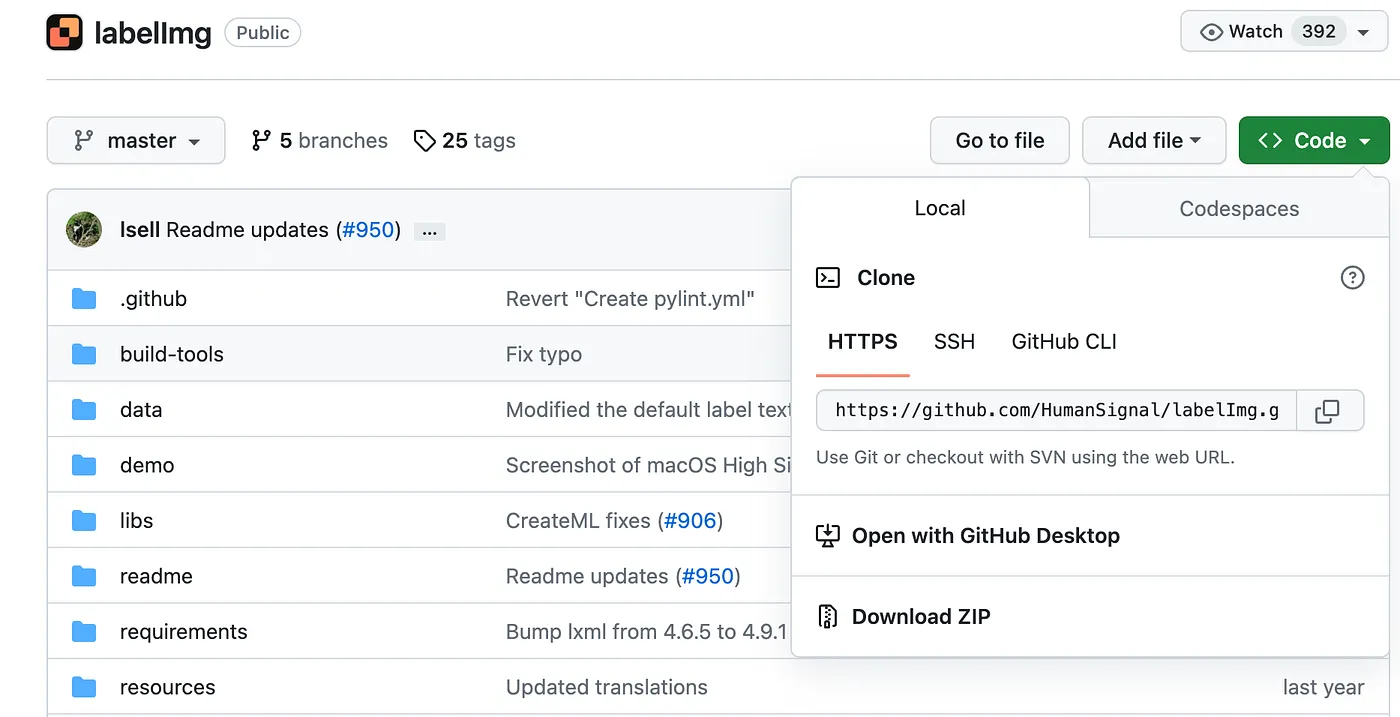
Click the following GitHub project link and then download it: HumanSignal/labelImg
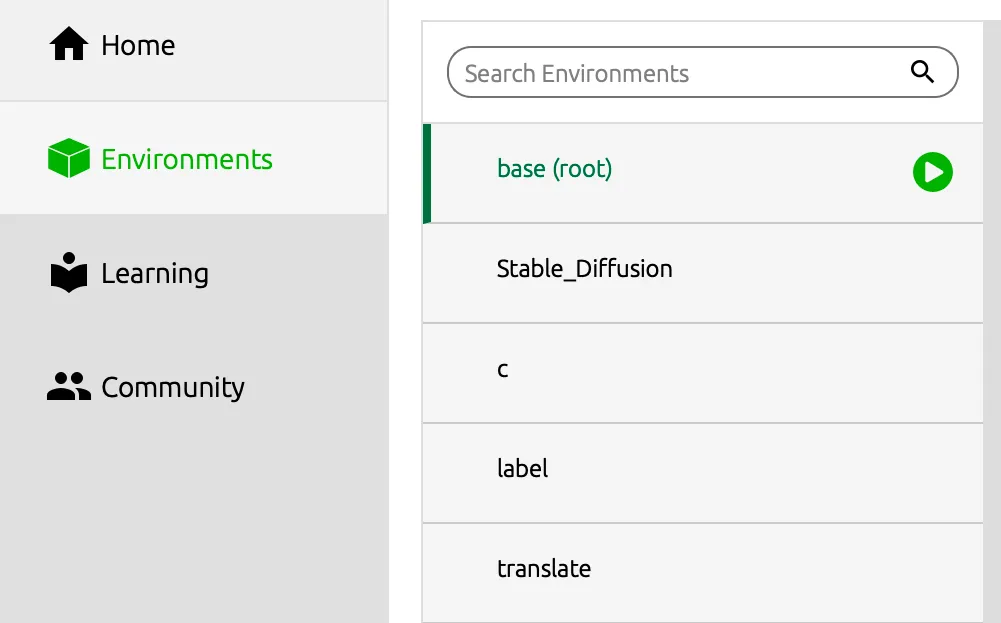
Due to potential package version conflicts with the package used here, we need to create a new, clean environment through Anaconda for the installation (it is strongly recommended not to install under the Yolo environment, as it will lead to numerous errors).
In this case, we will create a new environment named 'label'. The creation of a new environment can be referenced in Yolo v8–Installation.
Open the terminal:
1. conda activate label
2. cd labelIMG
3. pip3 install pipenv
4. pipenv run pip install pyqt5==5.15.2 lxml
If you encounter an error after entering the above, it may appear as shown in the following image:
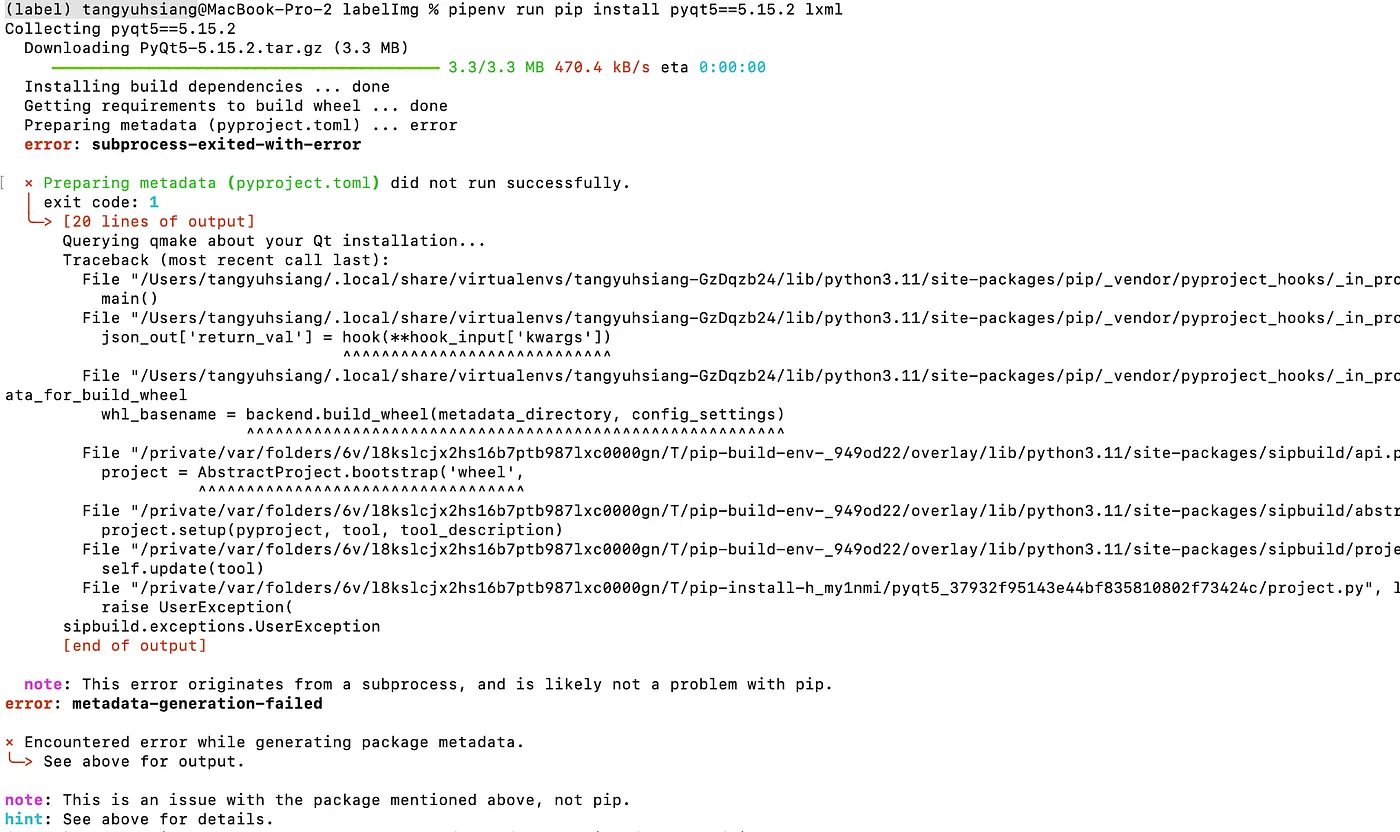
pip install --upgrade pyqt5
At this point, the environment and packages are fully installed! Next, we will enter the following in the terminaland you will see the user interface for the labeling package.
python labelImg.py
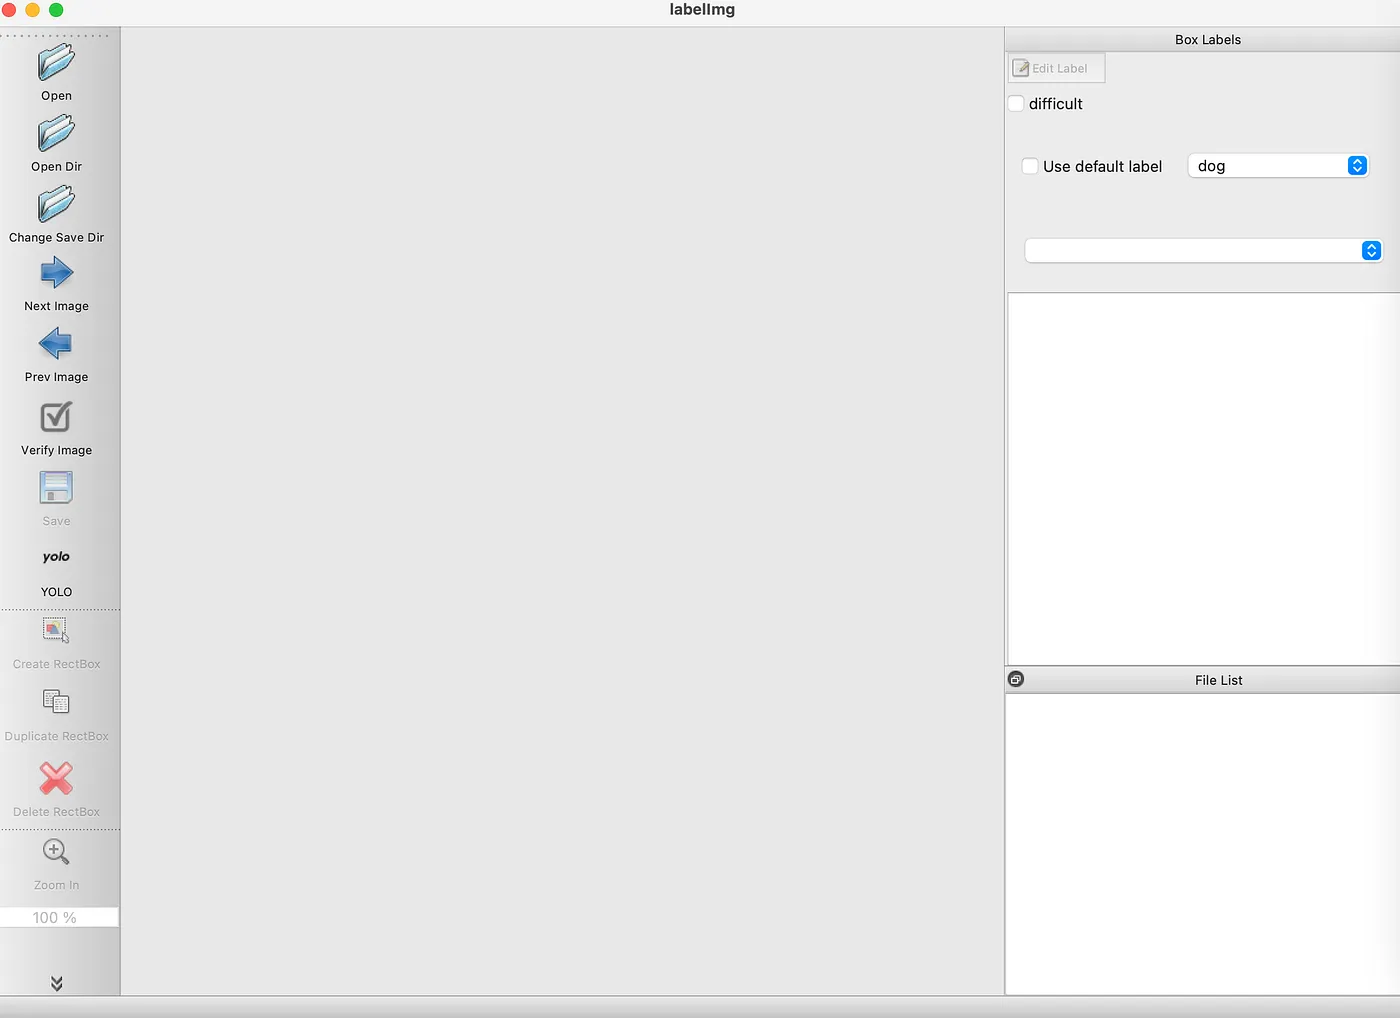
Next, click 'Open' and open the image file you want to label.
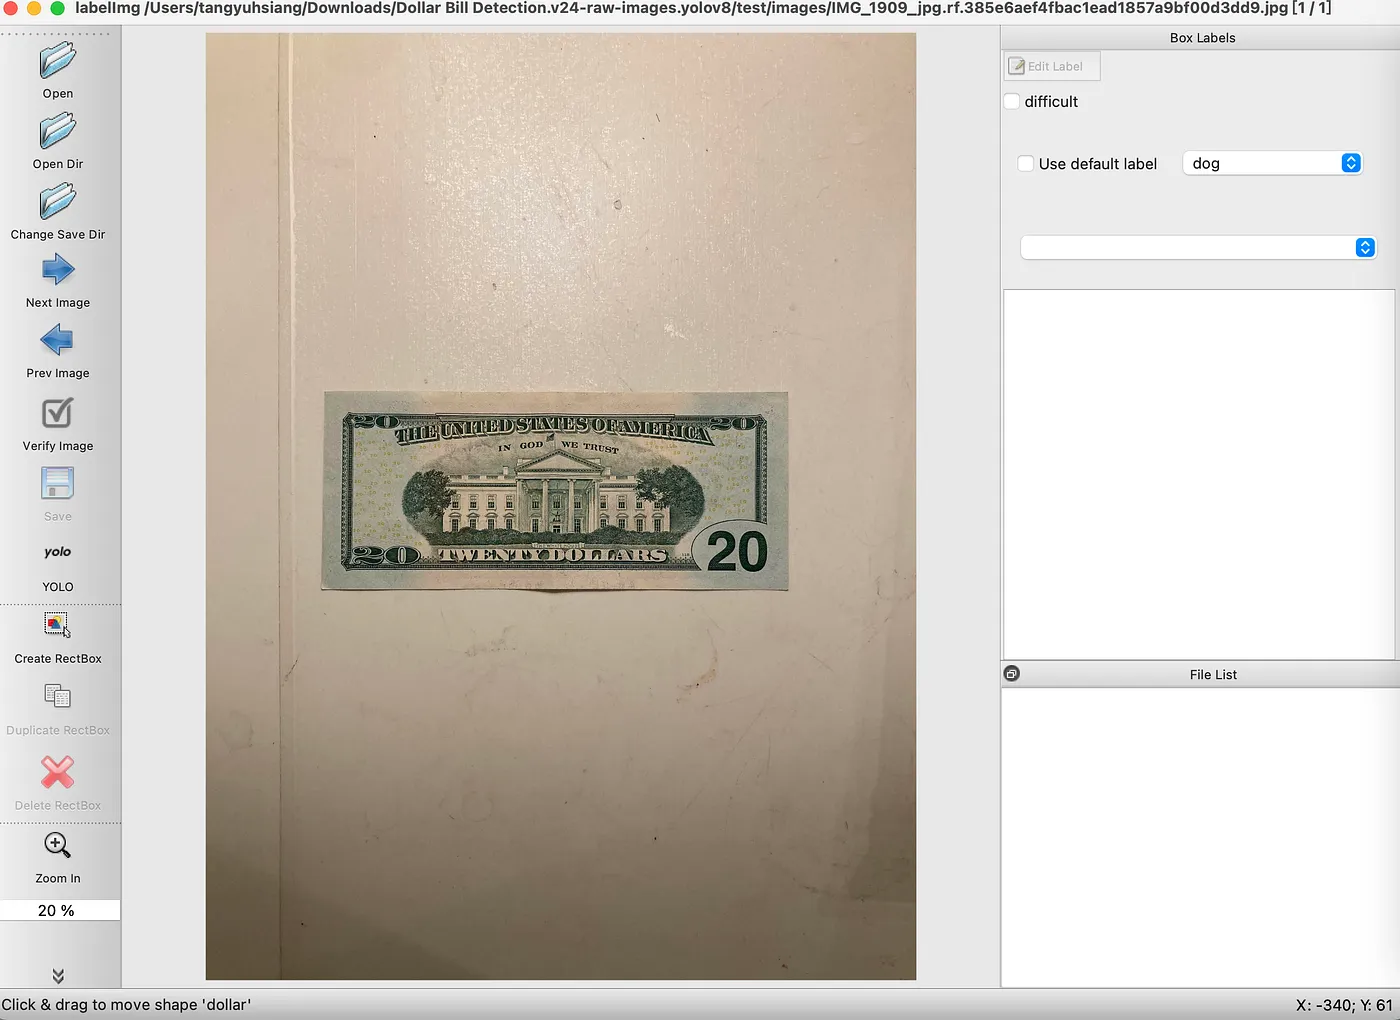
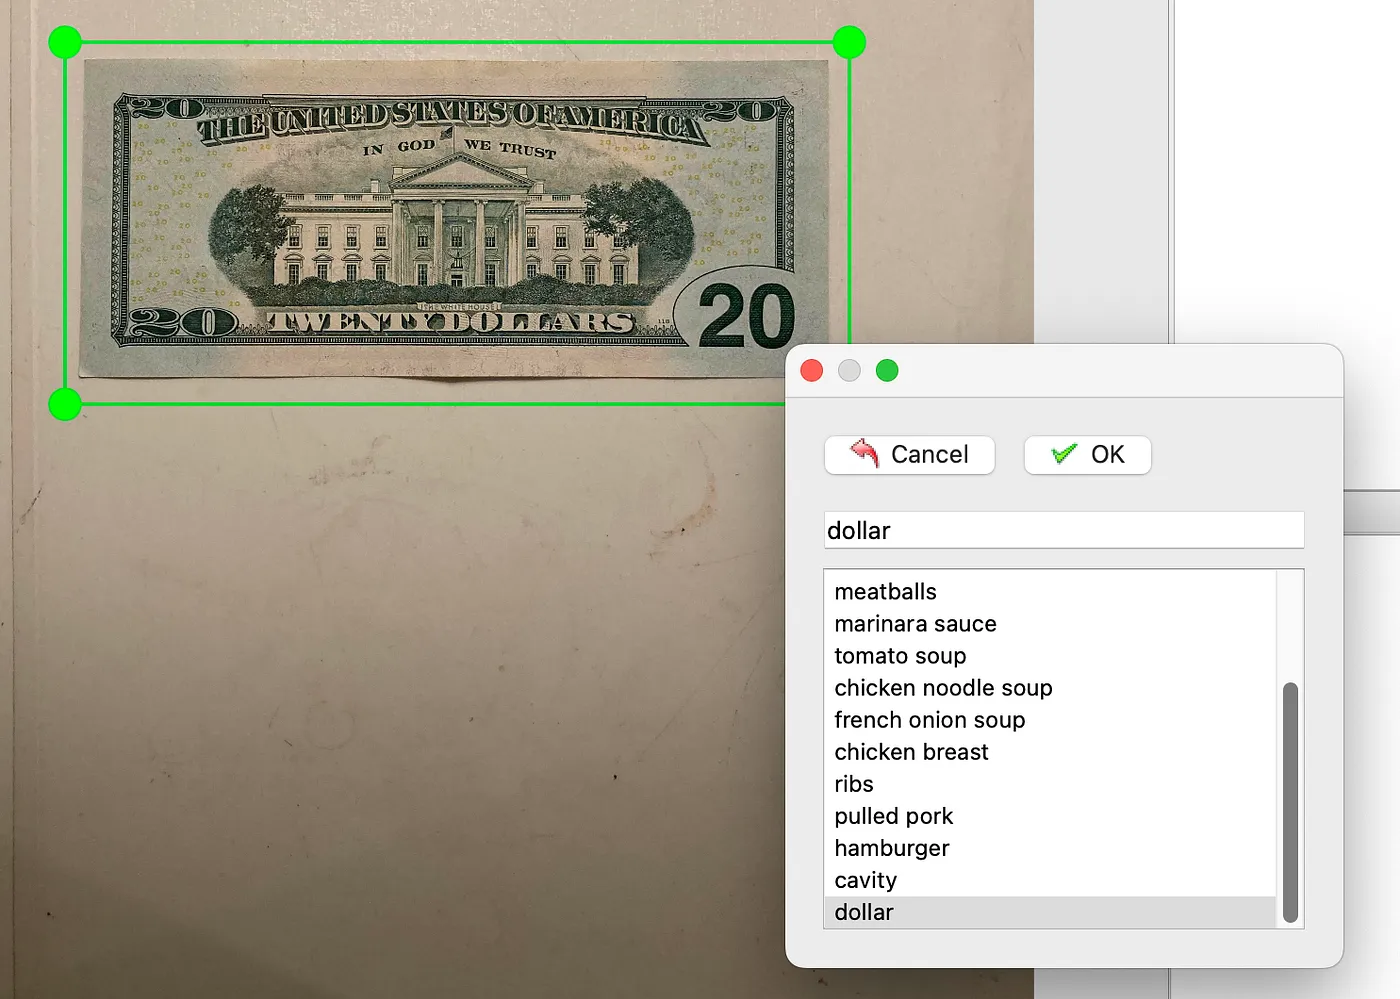
Here, we use dollars as our labeling target and click 'Create RectBox'.
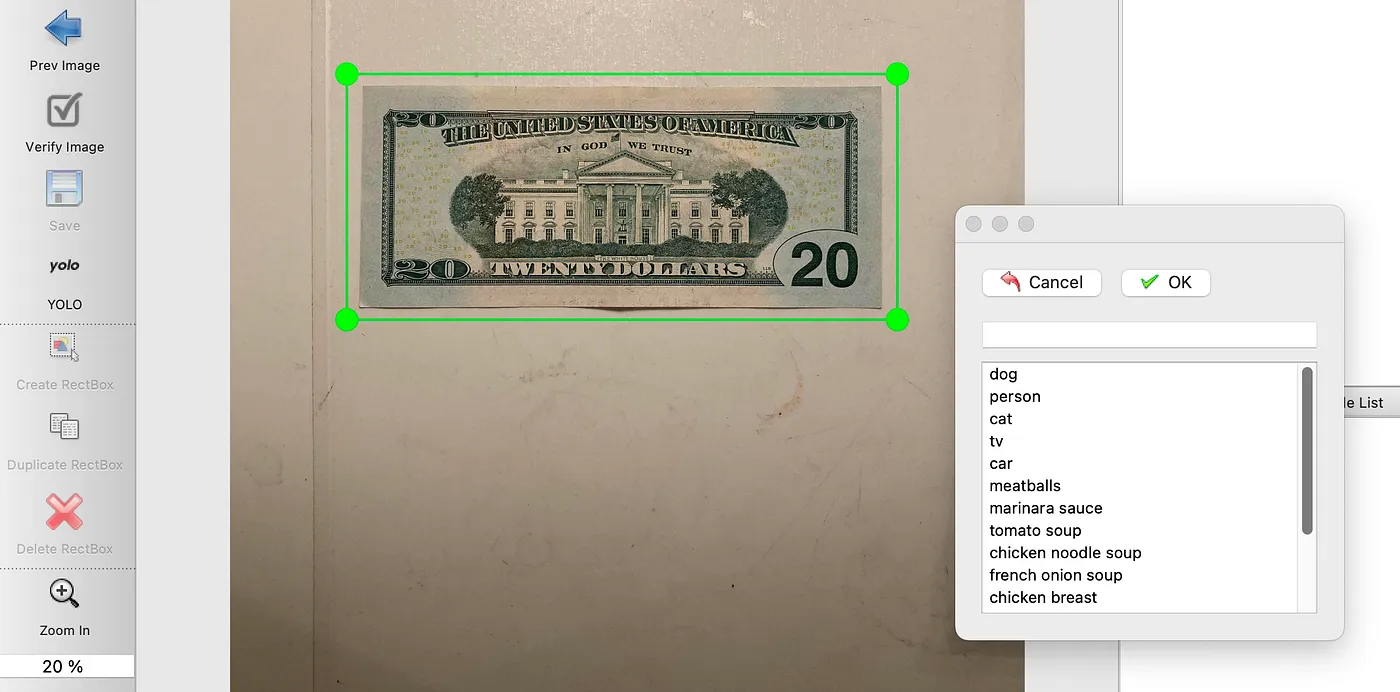
Use the mouse to label. After framing the target, a category for labeling will appear. We will label this category as banknotes (dollars). However, since there is no banknote option in the dropdown menu, we need to add a new category for banknotes.
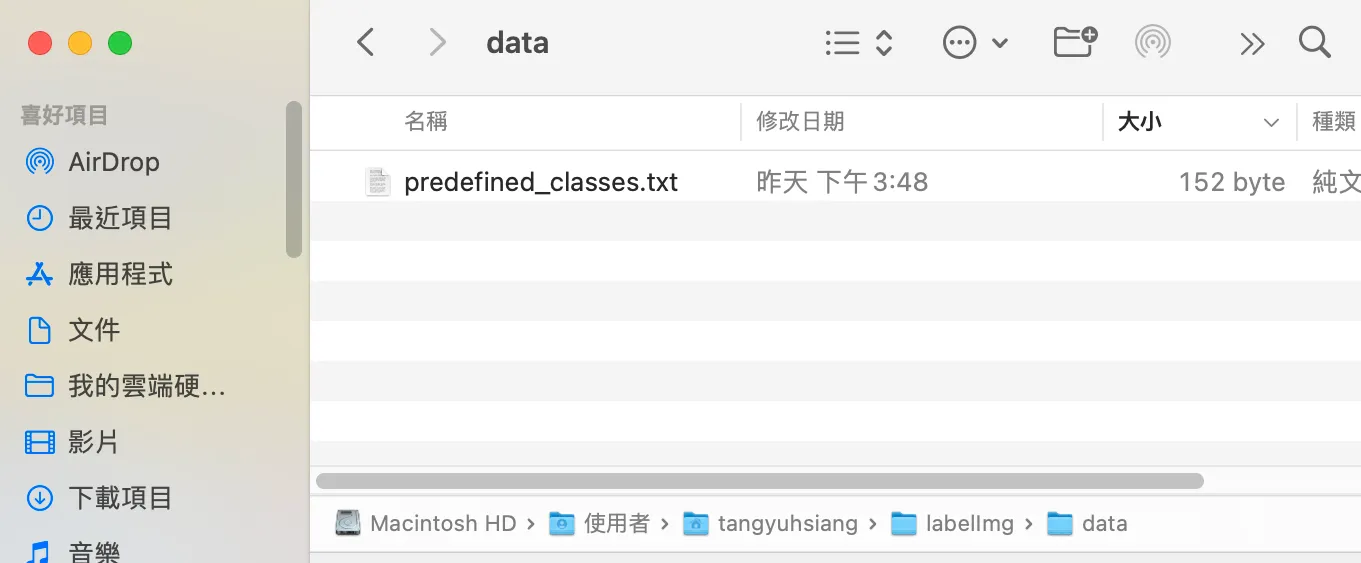
We go to the LabelImg folder, find the 'data' folder, and open the 'predefined_classes.txt' text file inside.
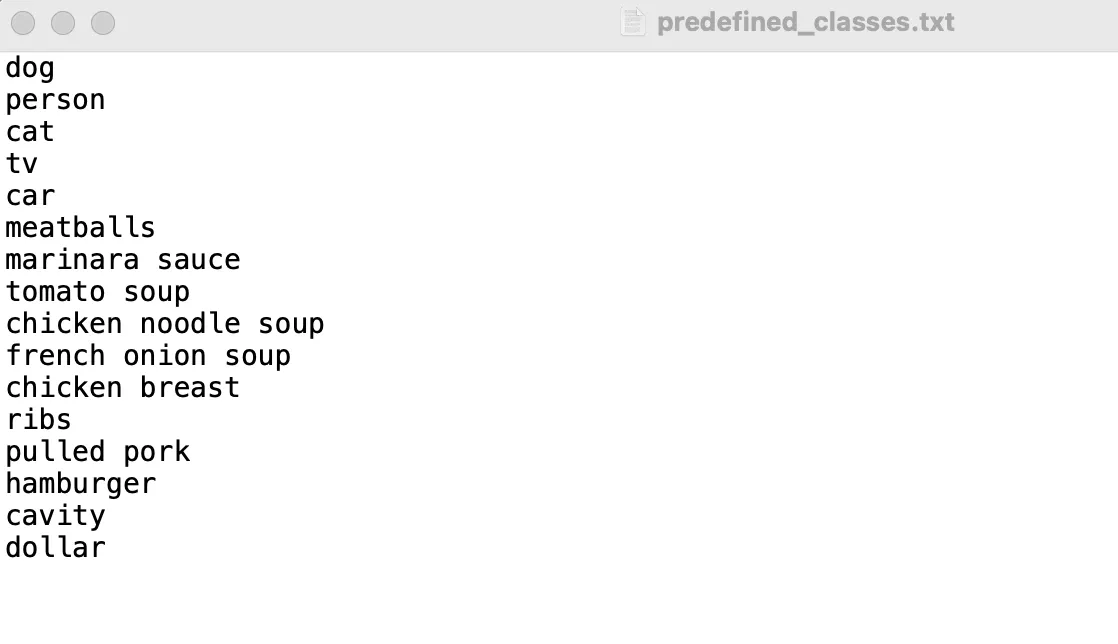
After opening it, we can add the new category 'dollar' at the bottom (it's recommended to add at the bottom to avoid messing up the default values).
After adding, we can see the newly added 'dollar' category in the menu.
Click 'save'.
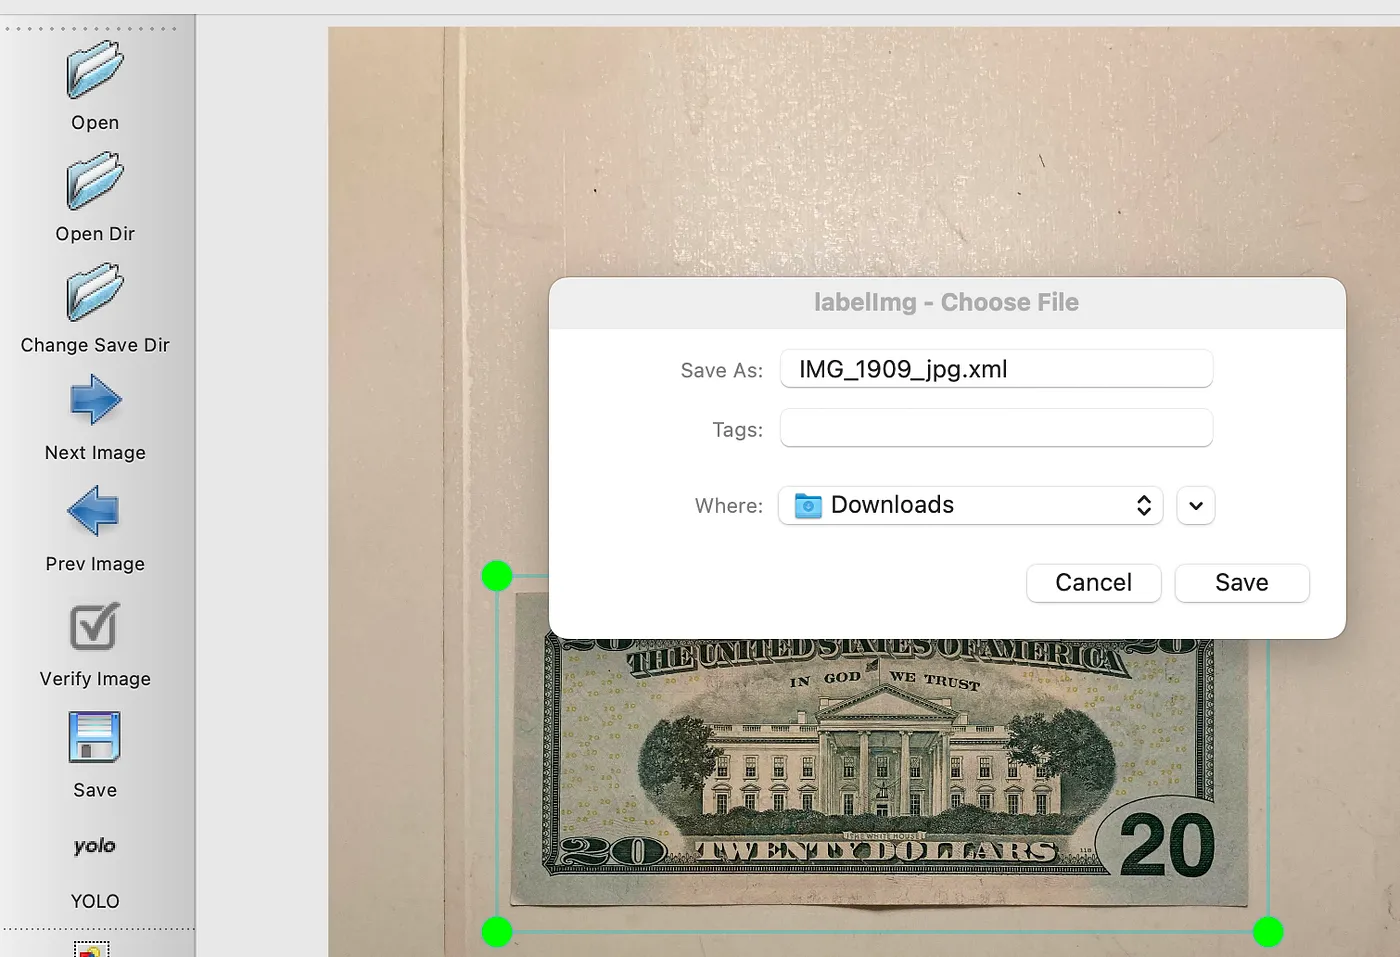
Go to the directory where you just saved the labeled file, and you will see the labeled photo. The text file represents the labeling format.
And with that, our labeling task is successfully completed!