Installation
Today, I'm going to introduce a powerful tool for image recognition — Yolo v8 (You Only Look Once version 8). For this topic, I plan to write three sections, covering Yolo's environment setup, model training and prediction, and how to label (Labeling) unprocessed data.
1. Setting Up the Environment
Firstly, since Yolo is trained under the Pytorch environment, to avoid any issues with version and package conflicts, we will use Anaconda, a powerful Integrated Development Environment (IDE), to manage the installation of packages. Installing Anaconda is straightforward (simply go to the official website, click Download, and then keep clicking next until the installation is complete). Visit the link here . The system I am using here is MacOS (2020 M1), so all the following commands and installation demonstrations will be conducted and shown under Apple's operating system.

2. Yolo v8 Documentation
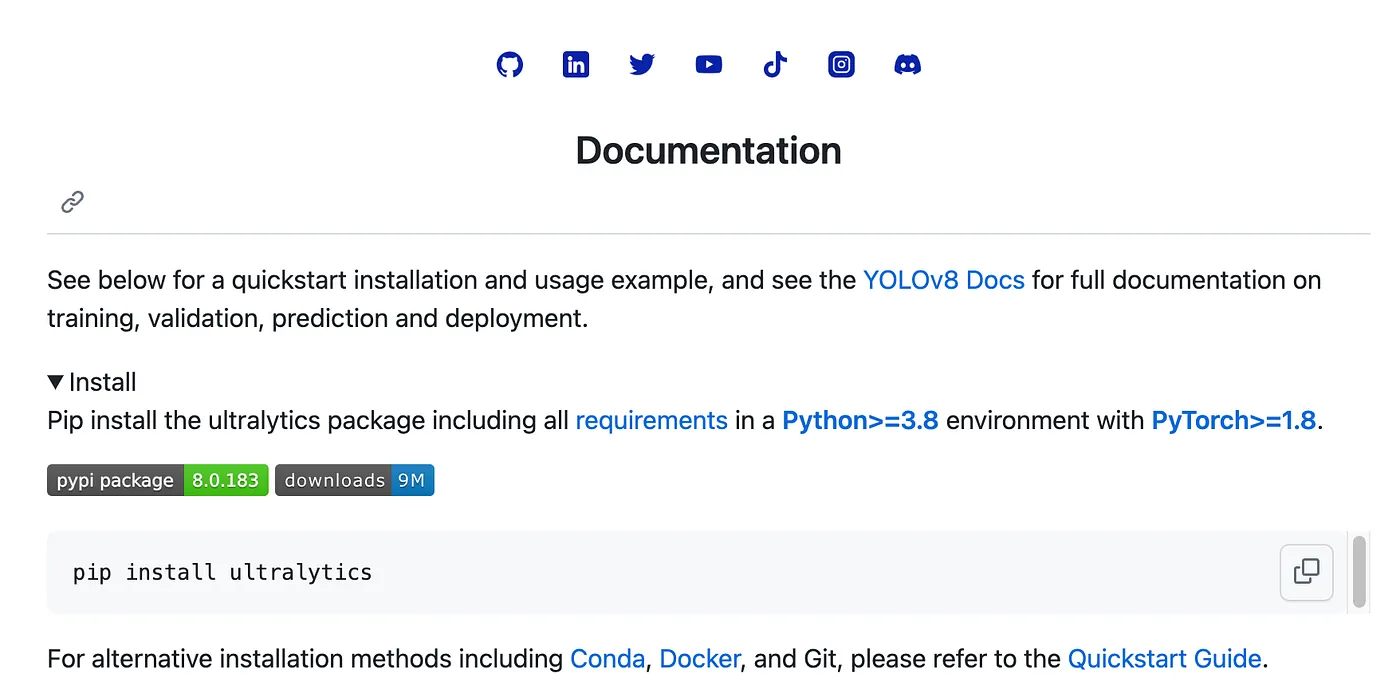
After installing Anaconda, click the following link to visit the Yolo v8 GitHub page to see how to install it. Yolo v8 GitHub
After entering the site, scroll down to find the 'Documentation' section and then click on "YOLOv8 Docs".
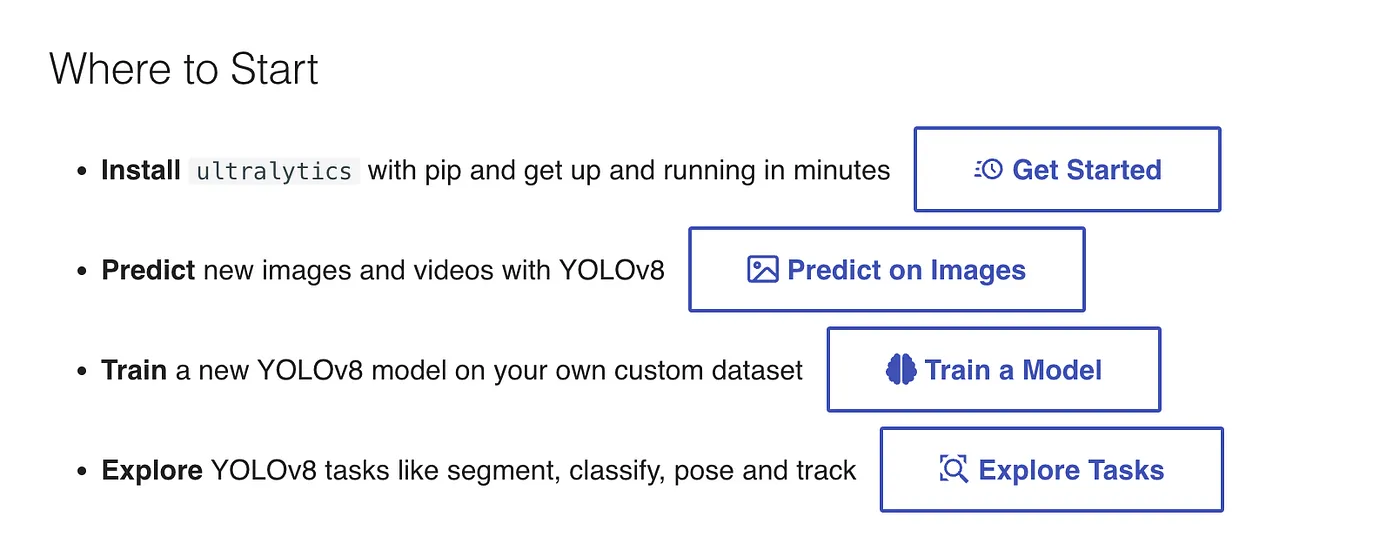
Click on "Get Started"
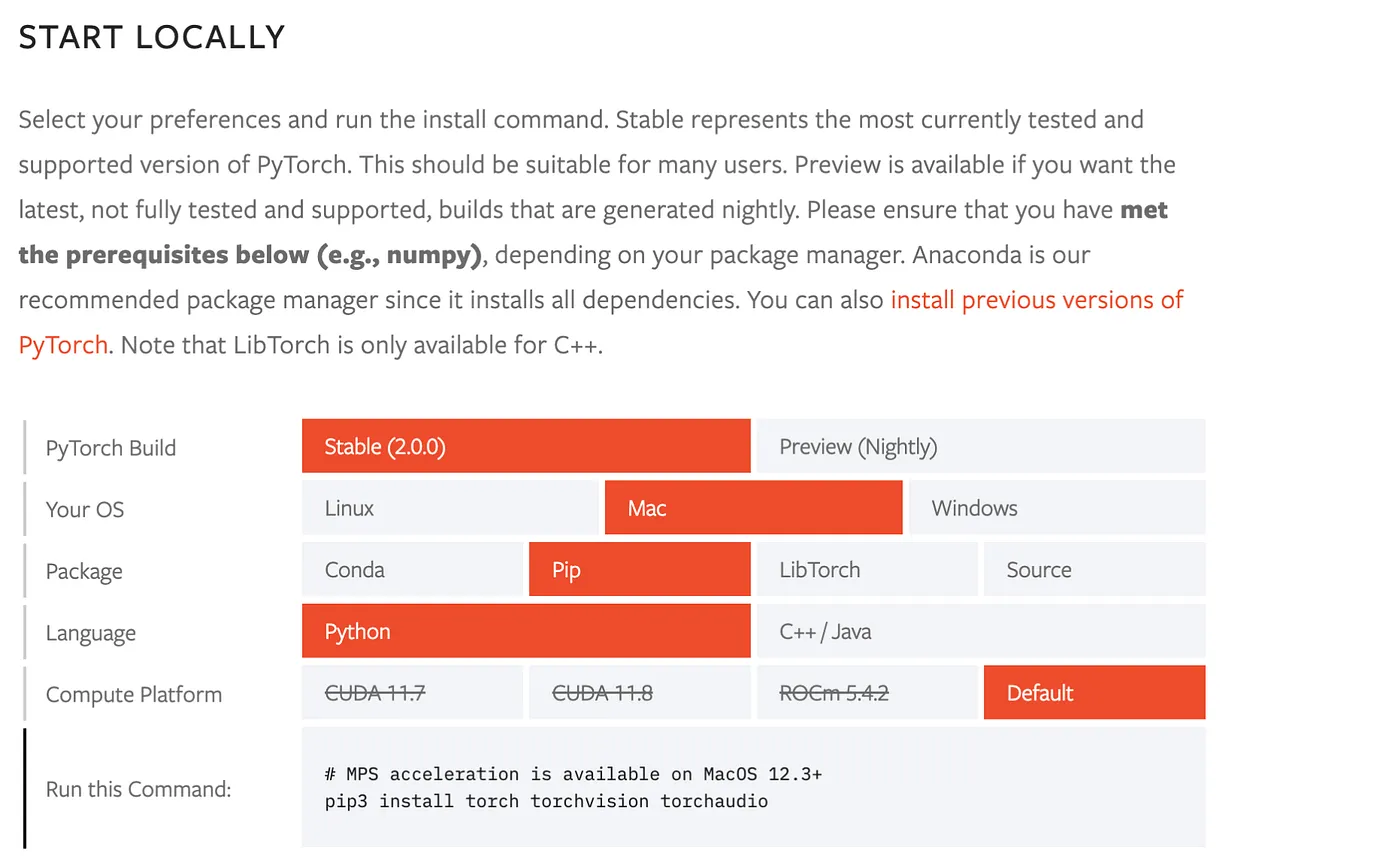
After entering the site, the webpage will automatically detect whether your system is Windows, Linux, or Mac.
3. Creating a New Environment
Here, we will start using the recently downloaded Anaconda to create a new, clean environment. Please open Anaconda and follow these steps:
- Click on 'Environments' in the top left corner.
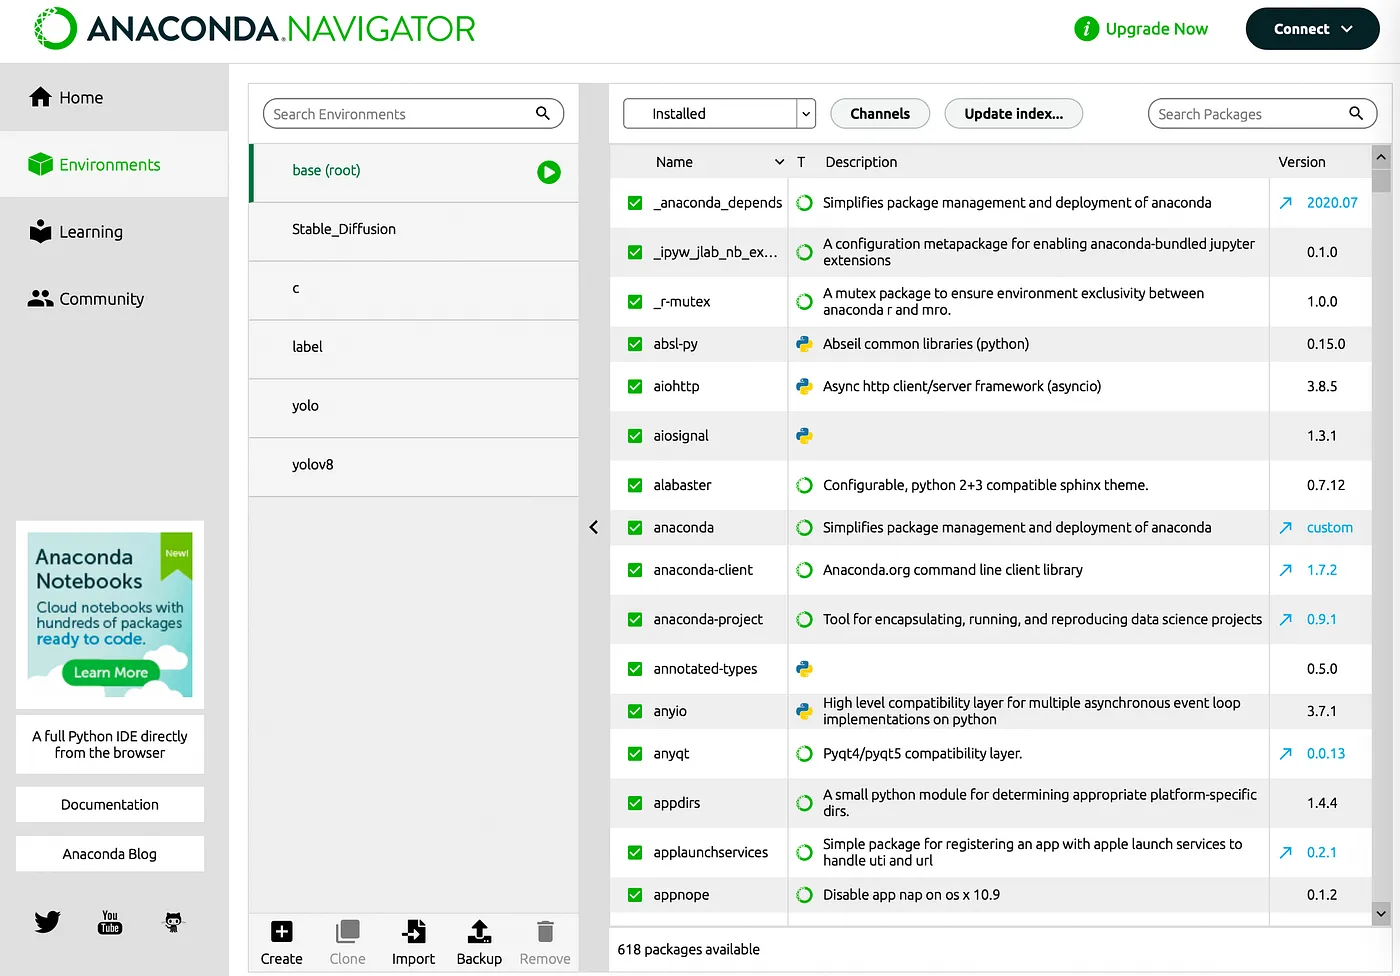
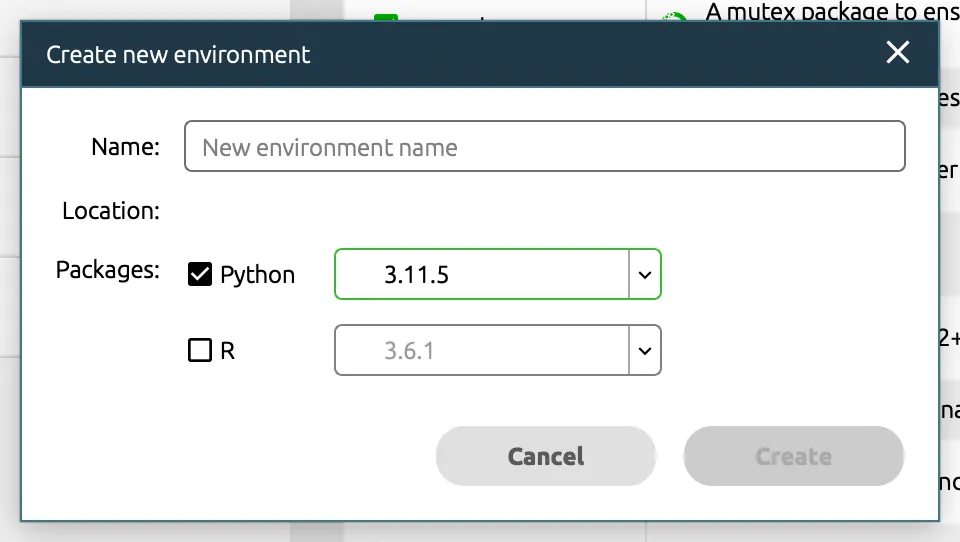
- Click on 'Create', set your desired environment name (here, I use 'yolo'), and select Python, specifying the version as the latest one available (3.11.5). Finally, click on 'Create' at the bottom right corner.
- Open Terminal
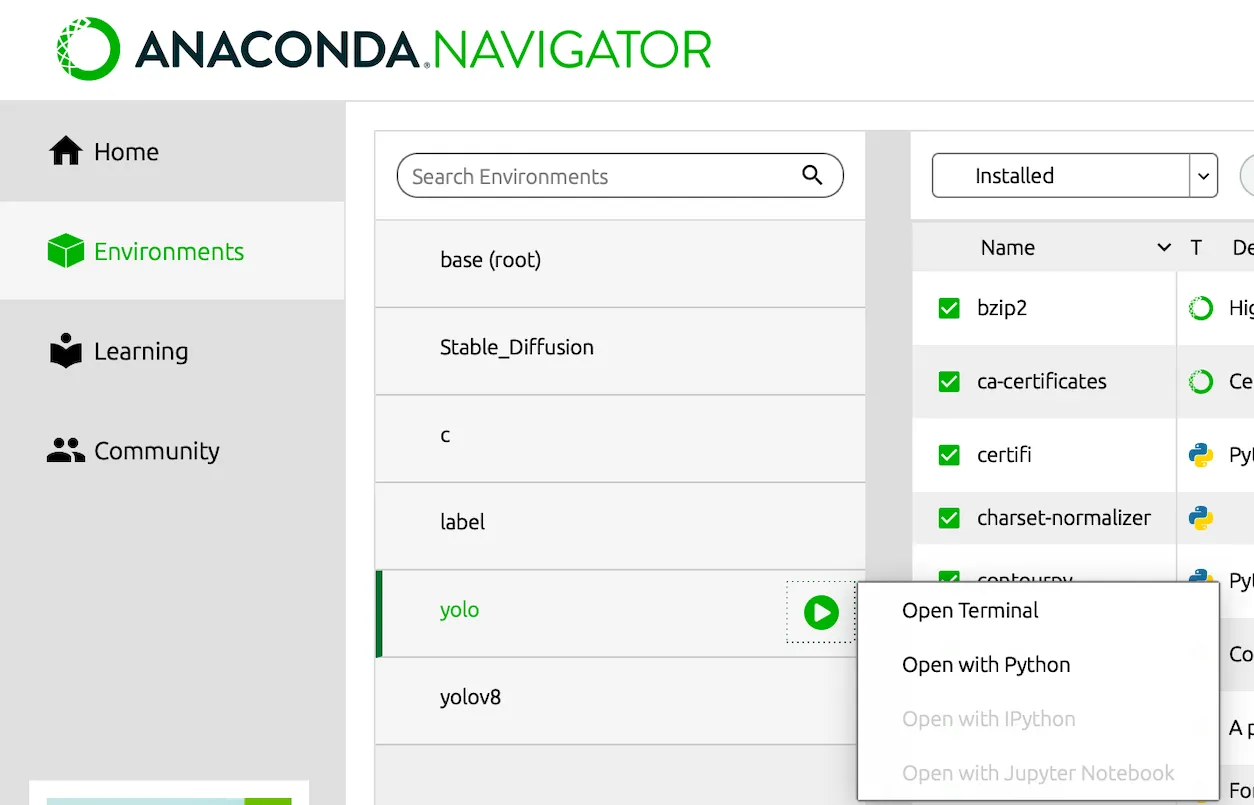
4. Commands in Terminal
Next, all our installation operations will be conducted in the Terminal. Please open your Terminal and enter the following commands to execute:
1. conda activate yolo
2. pip install ultralytics
3. pip3 install torch torchvision torchaudio
(Different systems have different commands on install torch version; please refer to the Pytorch interface above or directly click this link)
5. Additional Resources
With this, the basic installation is largely complete! Subsequent articles will introduce how to predict, train, and label. If you encounter any issues with the environment setup, simply copy and paste the entire error message from the terminal directly to ChatGPT. It can generally help you debug. If you really have problems with the environment setup, you can also use Google Colab to create and train your environment in the cloud.